![biarri-networks-logo.png]](https://fondhelp.biarrinetworks.com/hs-fs/hubfs/biarri-networks-logo.png?height=40&name=biarri-networks-logo.png)
An image overlay is a picture, such as a scanned map, an aerial photo or a design plan, lined up with the map so you can see it alongside your project data. Use one when no GIS data exists for your area, but plans do exist as images or PDFs.
Image overlays are available in Fiber Design and Power Design projects. Like other overlays, they’re for viewing only, and FOND doesn’t use them when it generates a design. For overlays made from GIS data, see Custom overlays.
Supported files
- PNG or JPEG, up to 20 MB
- PDFs: take a screenshot of the page you need, or export it as a PNG or JPEG, then upload the image.
- GeoTIFFs and world files aren’t supported. Every image is lined up by hand using ground control points, even if it already contains location data.
How it works
You line up the image by placing ground control points (GCPs): matching spots that you click on both the image and the map, such as the same road intersection or building corner. With at least three GCPs, FOND works out how to scale, rotate and position the image so it fits the map.
Add an image overlay
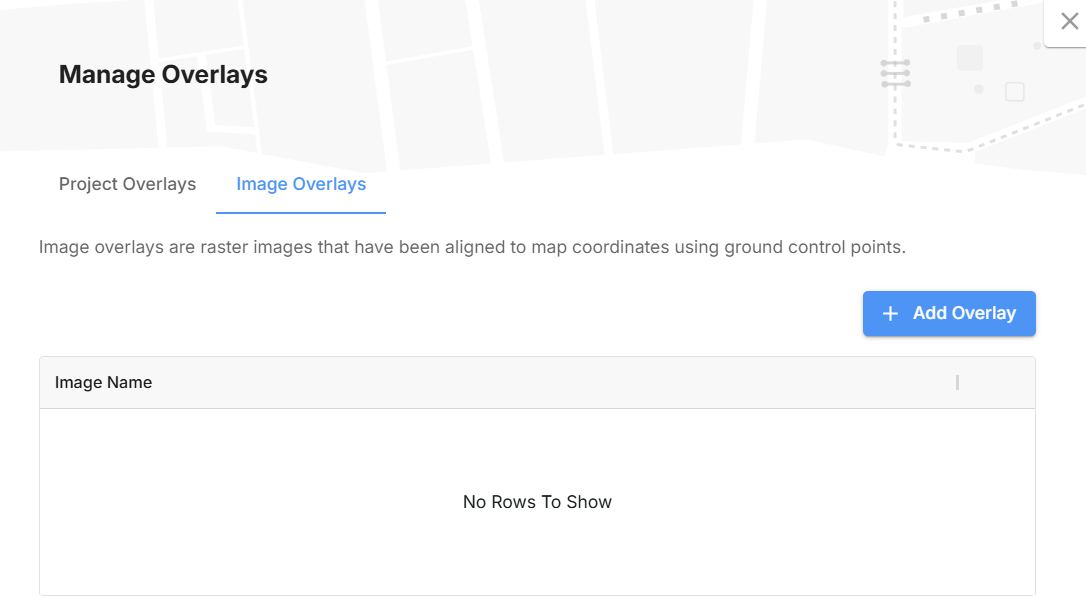
- Open the Overlays tab next to the Legend, click Manage Overlays, then open the Image Overlays tab.
- Click Add Overlay. The Add Image Overlay window opens, centered on your current map view.
Step 1: Upload the image
Click Upload Image, or drag your image into the window.
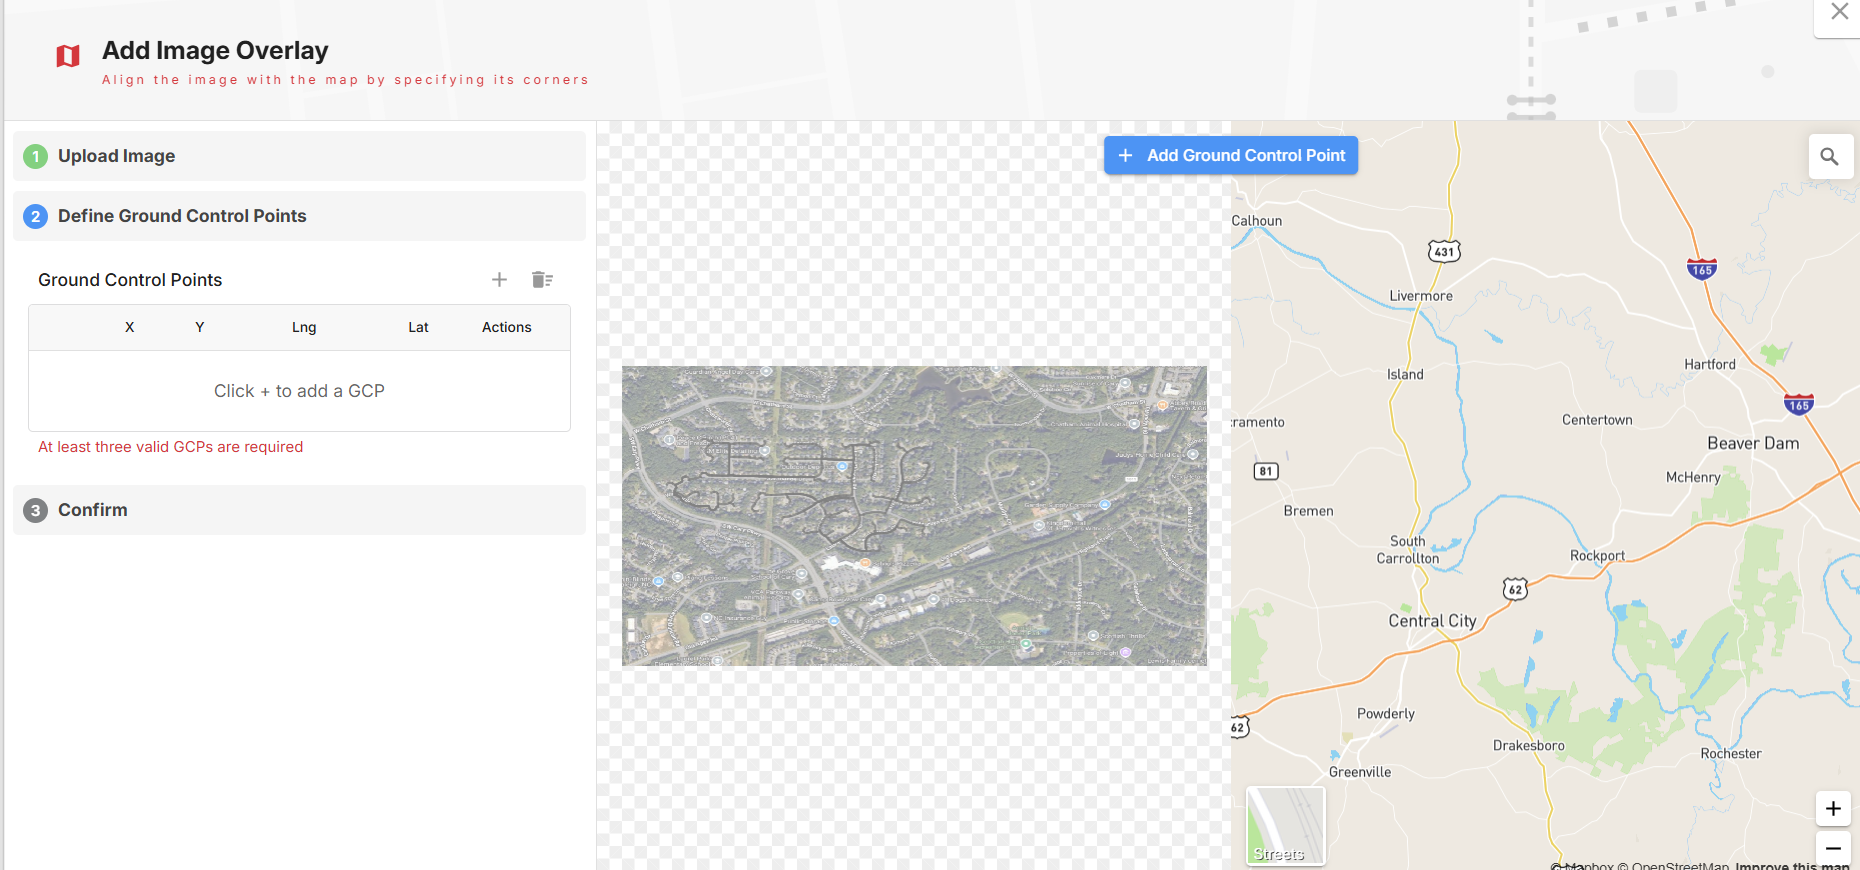
Step 2: Place ground control points
The image appears beside the map. You can drag the image to pan it, and use your mouse wheel to zoom.
- Click Add Ground Control Point.
- Click a recognizable spot on the image, such as a road intersection.
- FOND switches to the map. Click the same spot on the map.
- Repeat for at least three points. Next becomes available once you have three complete points.
Each point is listed in a table, where you can re-place it on the image or the map, or delete it.
Tips for a good fit:
- Spread your points across the image, ideally near its corners, rather than bunching them together.
- Use more than three points for a better fit, especially with large or hand-drawn plans.
- Choose sharp, permanent features, such as road intersections and building corners, rather than features that may have changed.
- Zoom in on the map before clicking, so each point is placed precisely.
Step 3: Confirm
- Check how the image lines up with the map. Use the eye icon to hide and show the image so you can compare.
- Set the Opacity. The default is 70%.
- If the fit isn’t right, click Back and adjust your points. You can’t drag, rotate or resize the image by hand.
- Click Apply.
- Enter a Name for the overlay. It defaults to the file name. Click Create.
After you’ve added it
The image appears in the Overlays tab, where you can show or hide it. Image overlays appear beneath your project overlays and your project’s own layers.
Once an image overlay is created, you can’t change its opacity, name or alignment. To change any of these, remove it and add it again.
Remove an image overlay
In Manage Overlays › Image Overlays, click the delete icon, then click Remove to confirm.