![biarri-networks-logo.png]](https://fondhelp.biarrinetworks.com/hs-fs/hubfs/biarri-networks-logo.png?height=40&name=biarri-networks-logo.png)
A Collaboration project lets you put your own GIS data on a map, style it, and share it with others for review and comments. This article walks you through creating a project and importing your layers.
Before you start
- You need a platform seat in a workspace with an active FOND subscription. See Create and manage projects.
- Have your GIS files ready. Collaboration accepts Shapefile, MapInfo TAB, KML and GeoJSON files.
- For Shapefiles and TAB files, keep all the files that make up each layer together, because you’ll upload them at the same time.
Step 1: Create the project
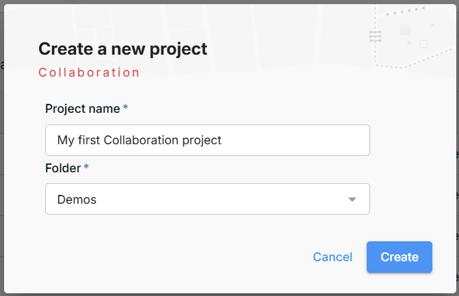
- On the home page, click Create and choose Collaboration project.
- Enter a Project name.
- Choose the Folder to save the project in.
- Click Create.
Step 2: Choose how to import your files
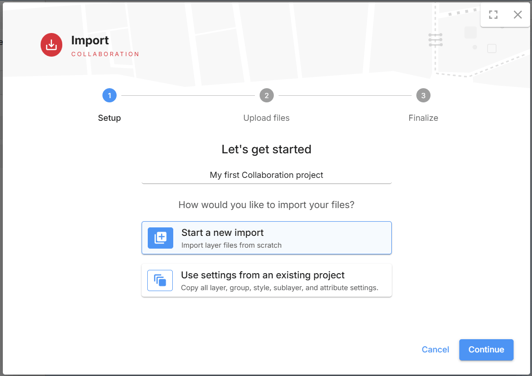
FOND asks how you’d like to import your files:
- Start a new import: import your layers from scratch, with default styling. Choose this for your first Collaboration project.
- Use settings from an existing project: copy the layer, group, style, sublayer and attribute settings from a project you’ve already set up. Choose this when you’re importing similar data again and want it to look the same, such as an updated version of a network you’ve already styled.
Select an option and click Continue.
Step 3: Select your files
Click Browse Files to choose your files, or drag them into the upload area. You can select files for several layers at once.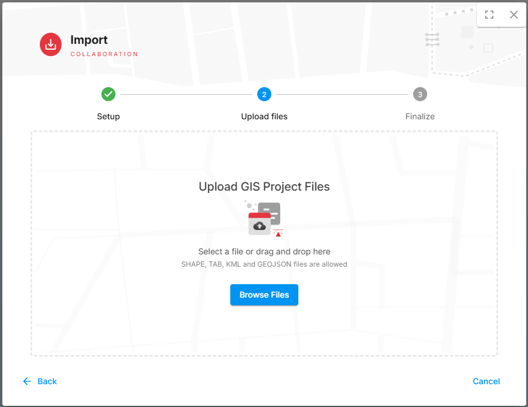
Step 4: Check your layers and upload
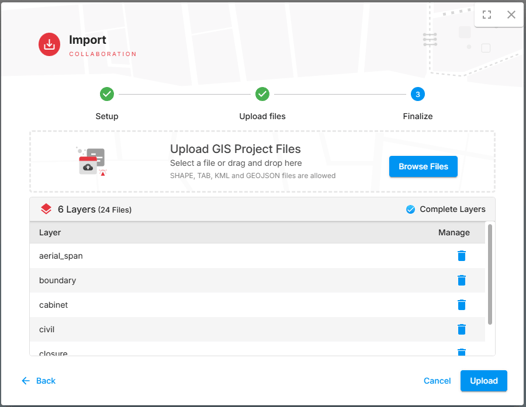
FOND groups your files into layers and lists them, showing the number of layers and files in total. Check that the list contains everything you expect:
- To add more files, click Browse Files again or drag them into the upload area.
- To remove a layer, click the bin icon next to it.
Step 5: Wait for the import to finish
A progress panel shows each layer as it uploads. Depending on the size of your files, this can take a few minutes.
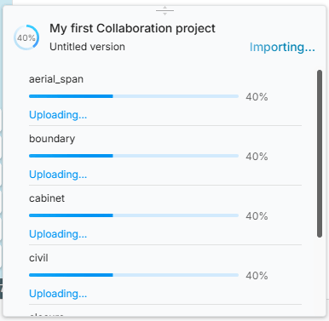
Your data is imported into the project’s first version, which is named Untitled version. You can rename it at any time. See Project versions.
Next: style your layers
When every layer has finished uploading, open the style editor to choose how each layer looks on the map. See Getting started with the styling editor.
Once your project looks the way you want, share it so others can review it and add comments.