Editing address data
In this guide, we'll show you how you can add, delete and move addresses, as well as add extra information on how many demand points are at a certain location for MDUs (Multi-Dwelling Units) and Commercial customers.
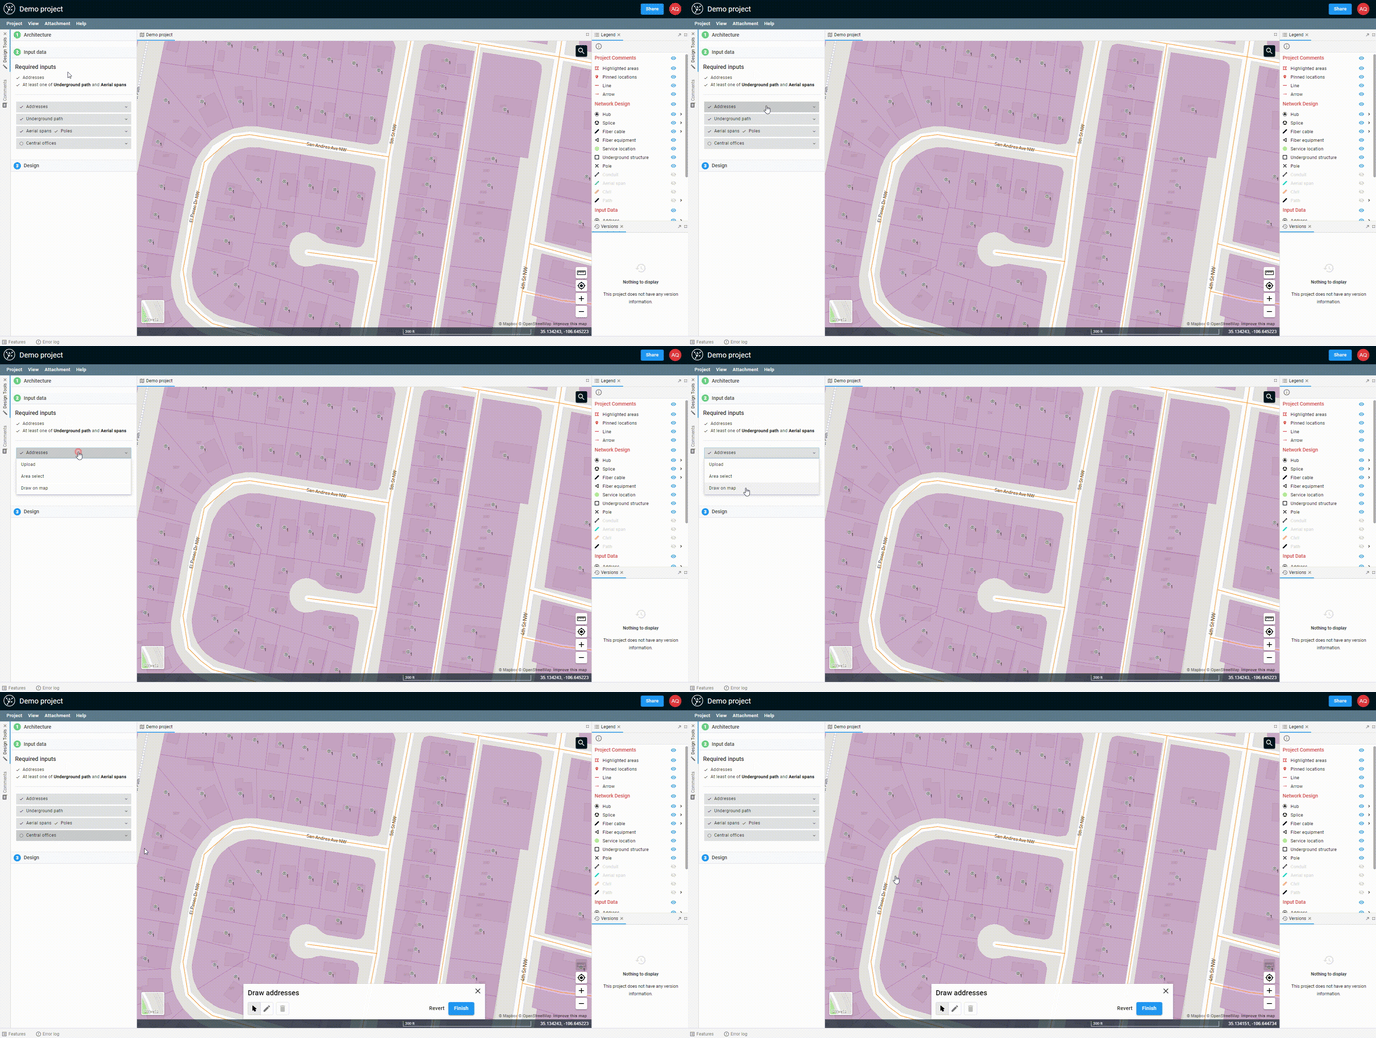
Opening the editing tools
To begin editing the locations of addresses, go to the left-hand panel and under Input data > Address, select "Draw on map". This will open up the editing controls near the bottom of your screen.
Moving addresses
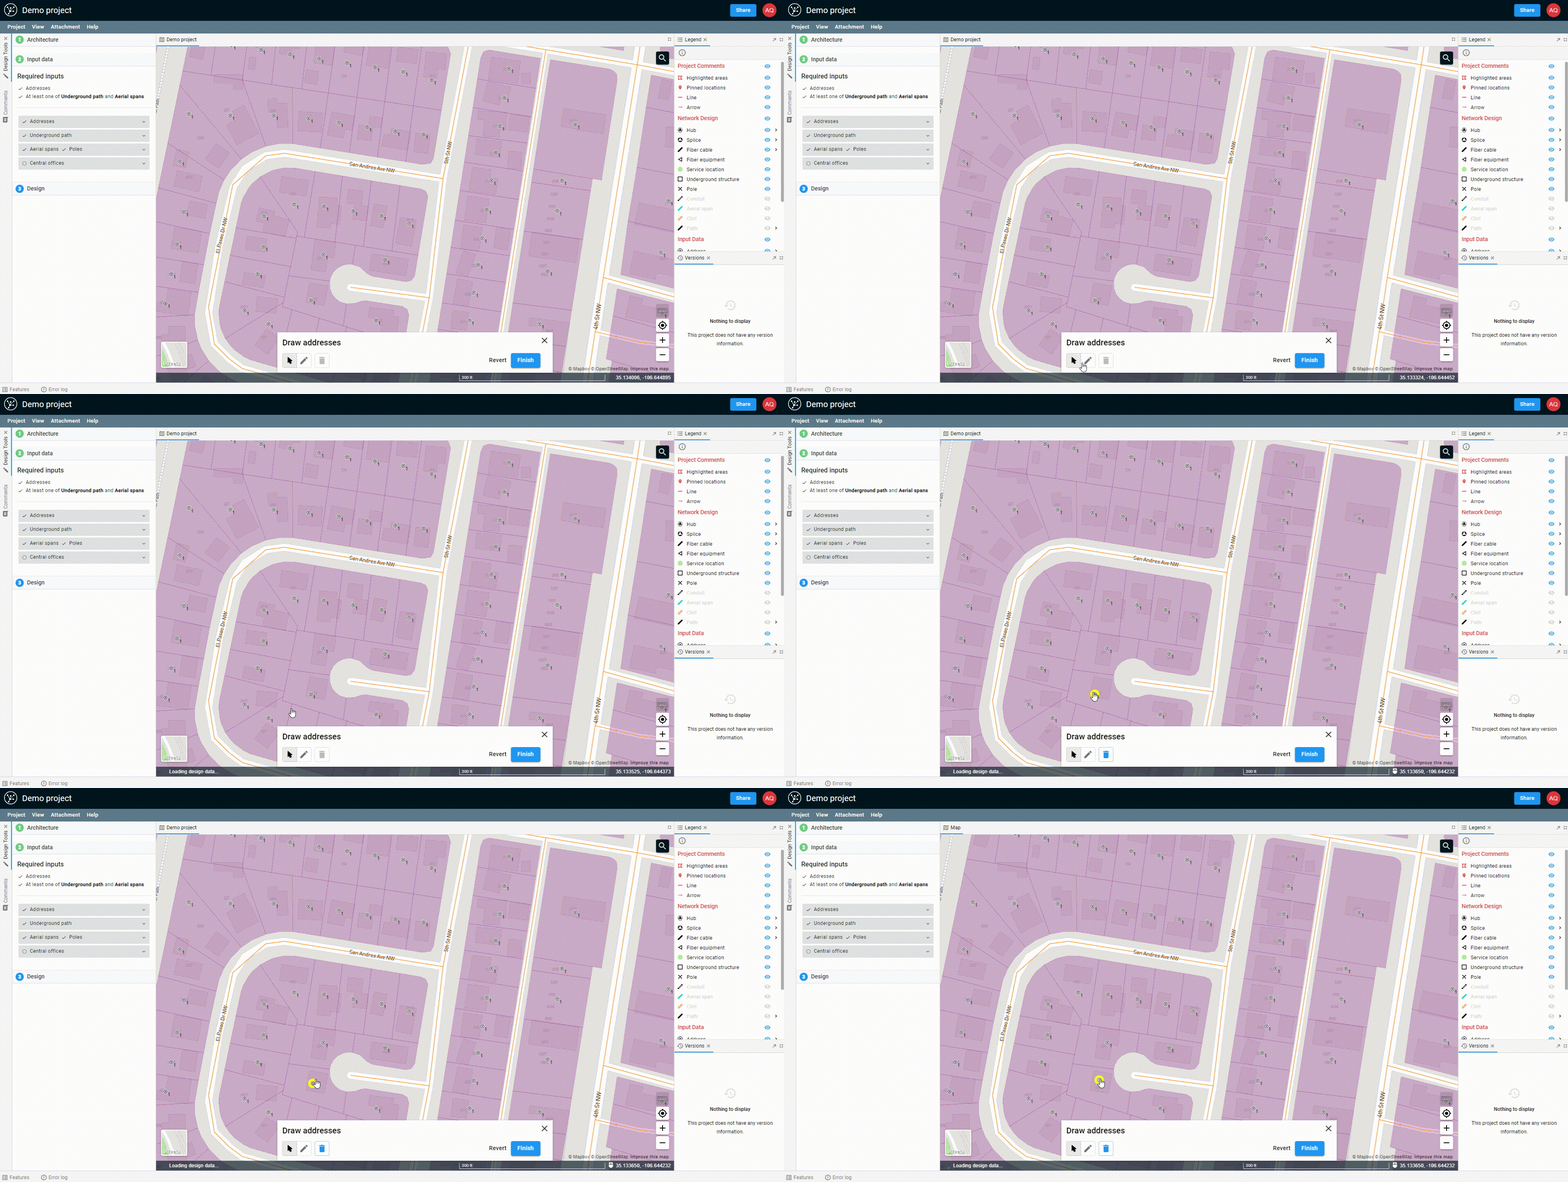
Click on the ![]() to enter select mode. Now when you click on an address, you can drag it.
to enter select mode. Now when you click on an address, you can drag it.
Deleting addresses
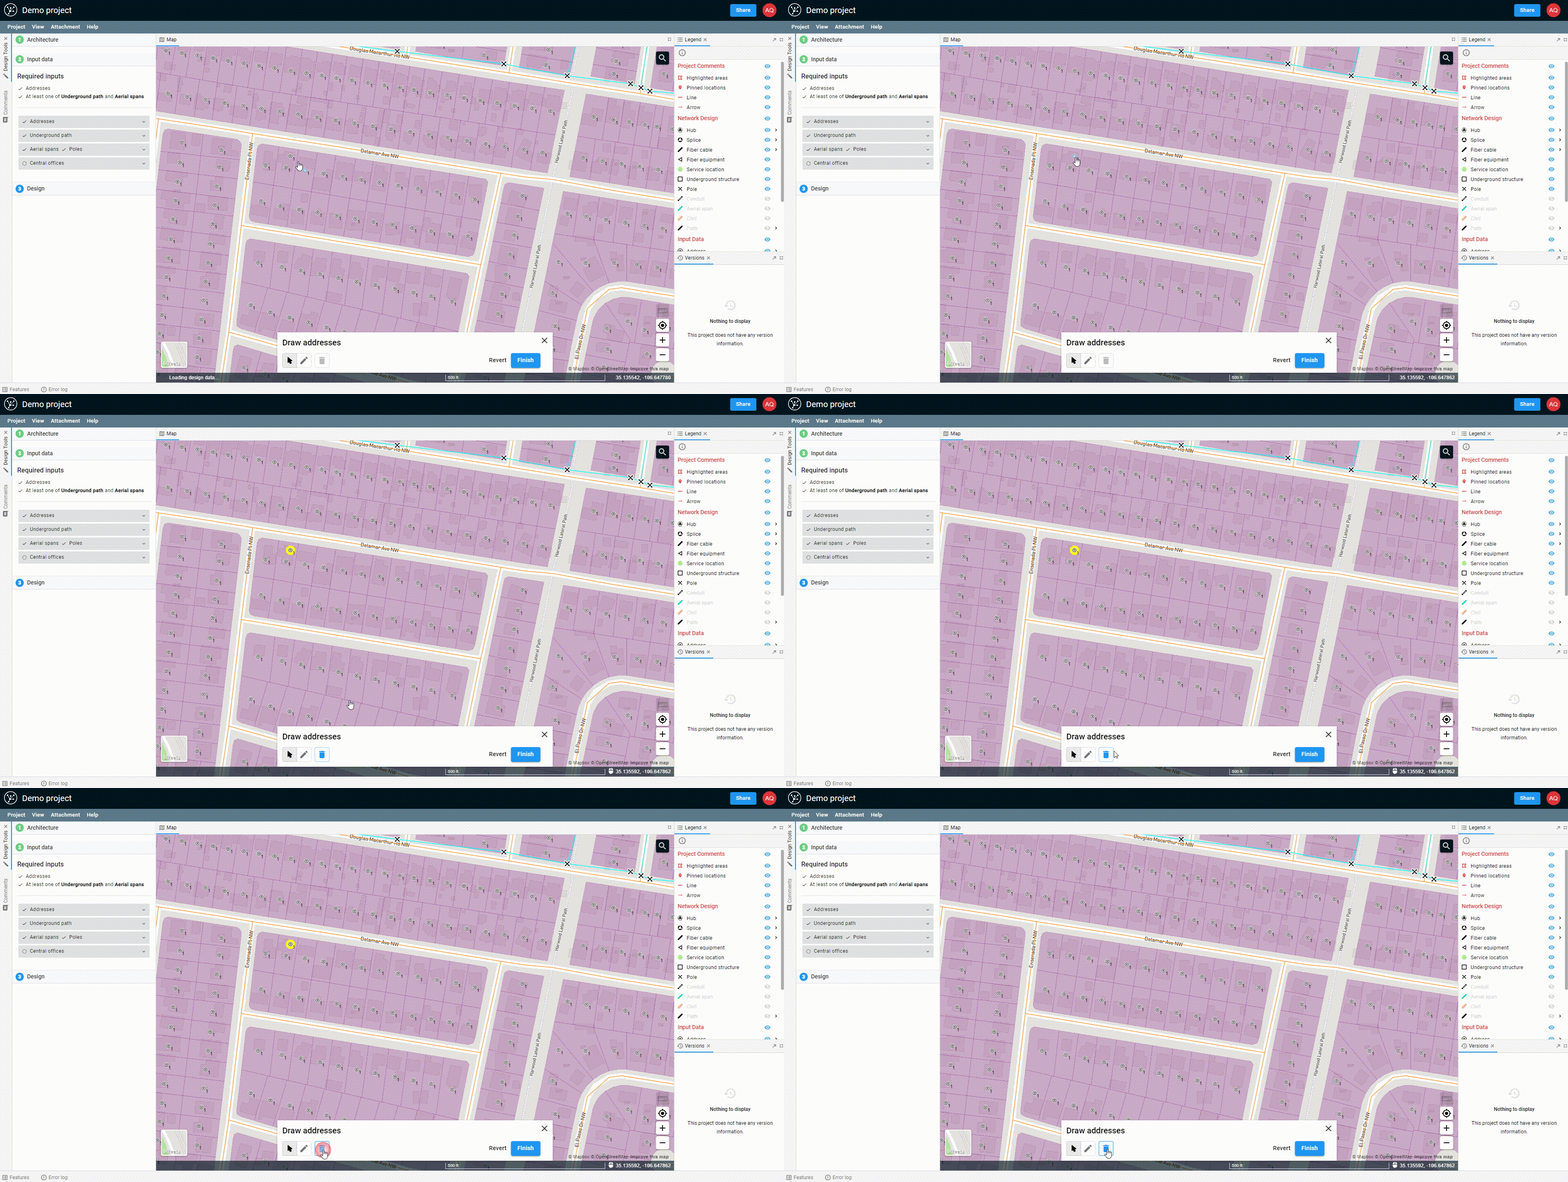
To delete addresses, you'll have to do it one at a time. Remaining in select mode, click on an address. When they turn yellow, you can click the trash can to remove (![]() ).
).
Adding new addresses
To add a new address, click the pen icon (![]() ) to enter drawing mode. While in this mode, anywhere you click on the map will have a new address dropped (you can still click and drag without dropping addresses).
) to enter drawing mode. While in this mode, anywhere you click on the map will have a new address dropped (you can still click and drag without dropping addresses).
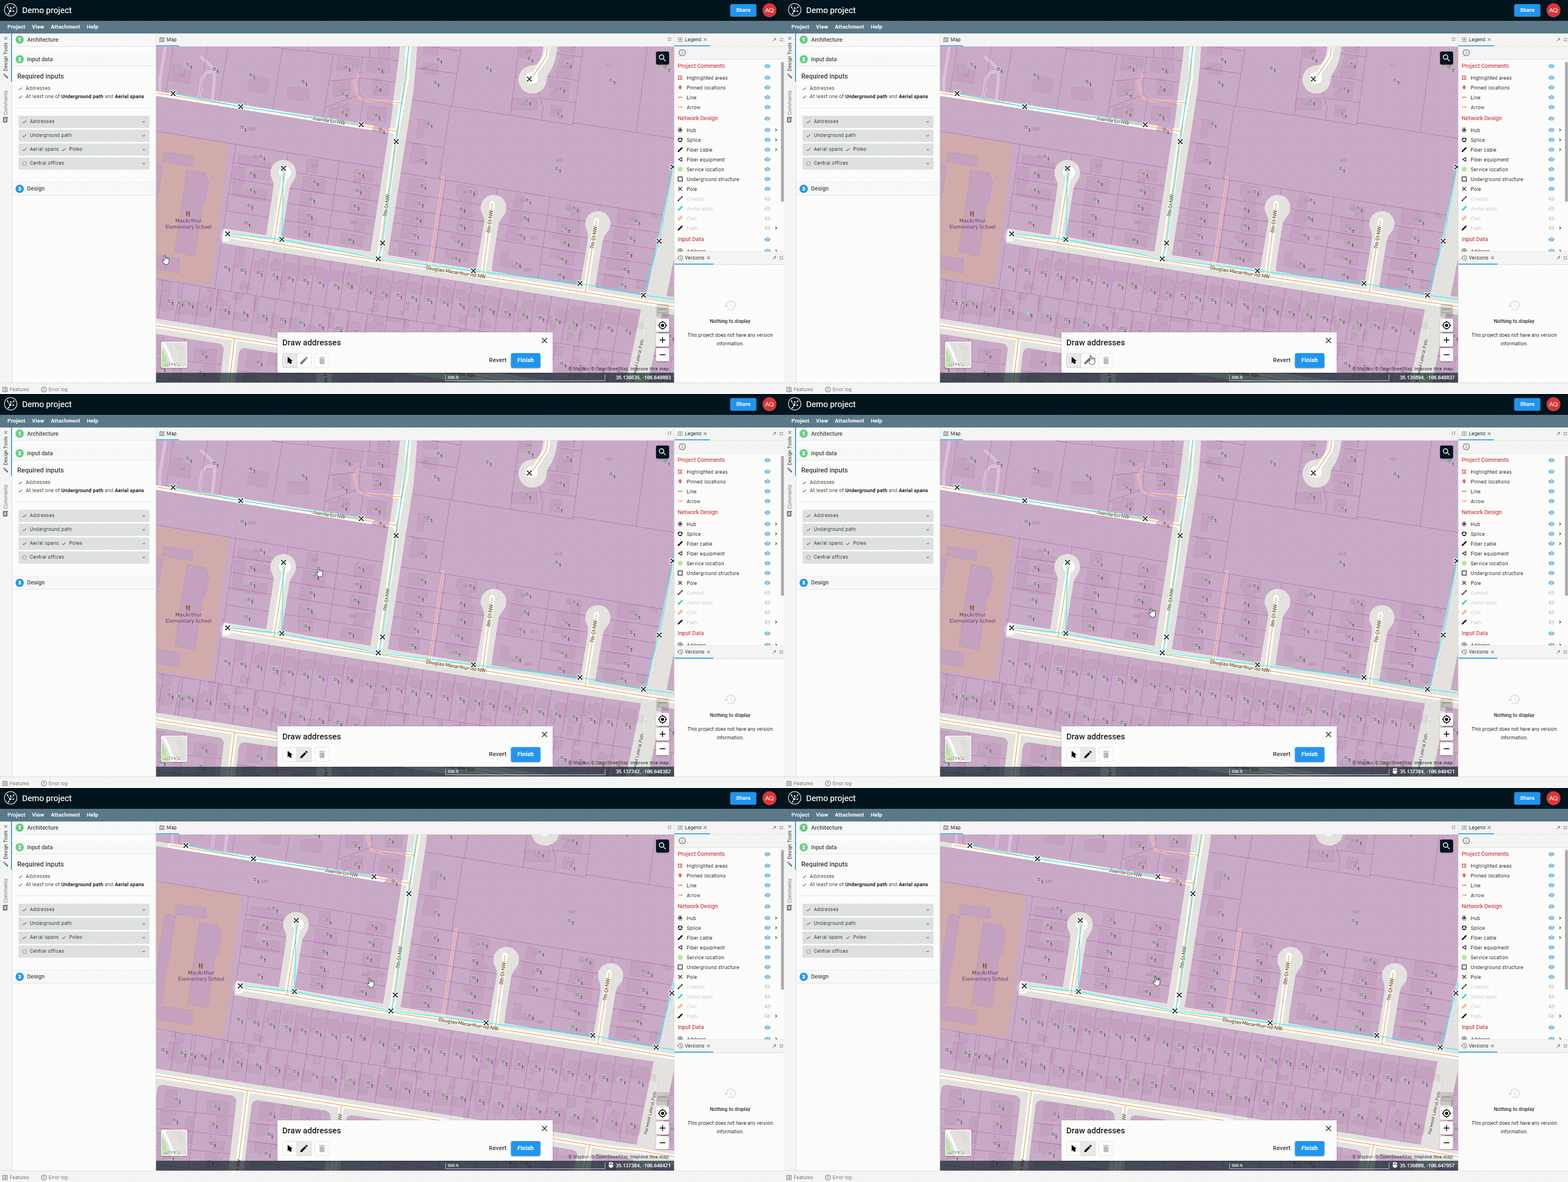
Closing the editing tools
Once you've finished editing, you can click 'Finish' in the editing toolbar. Clicking 'Revert' would undo all of the changes you've made since starting edit mode.
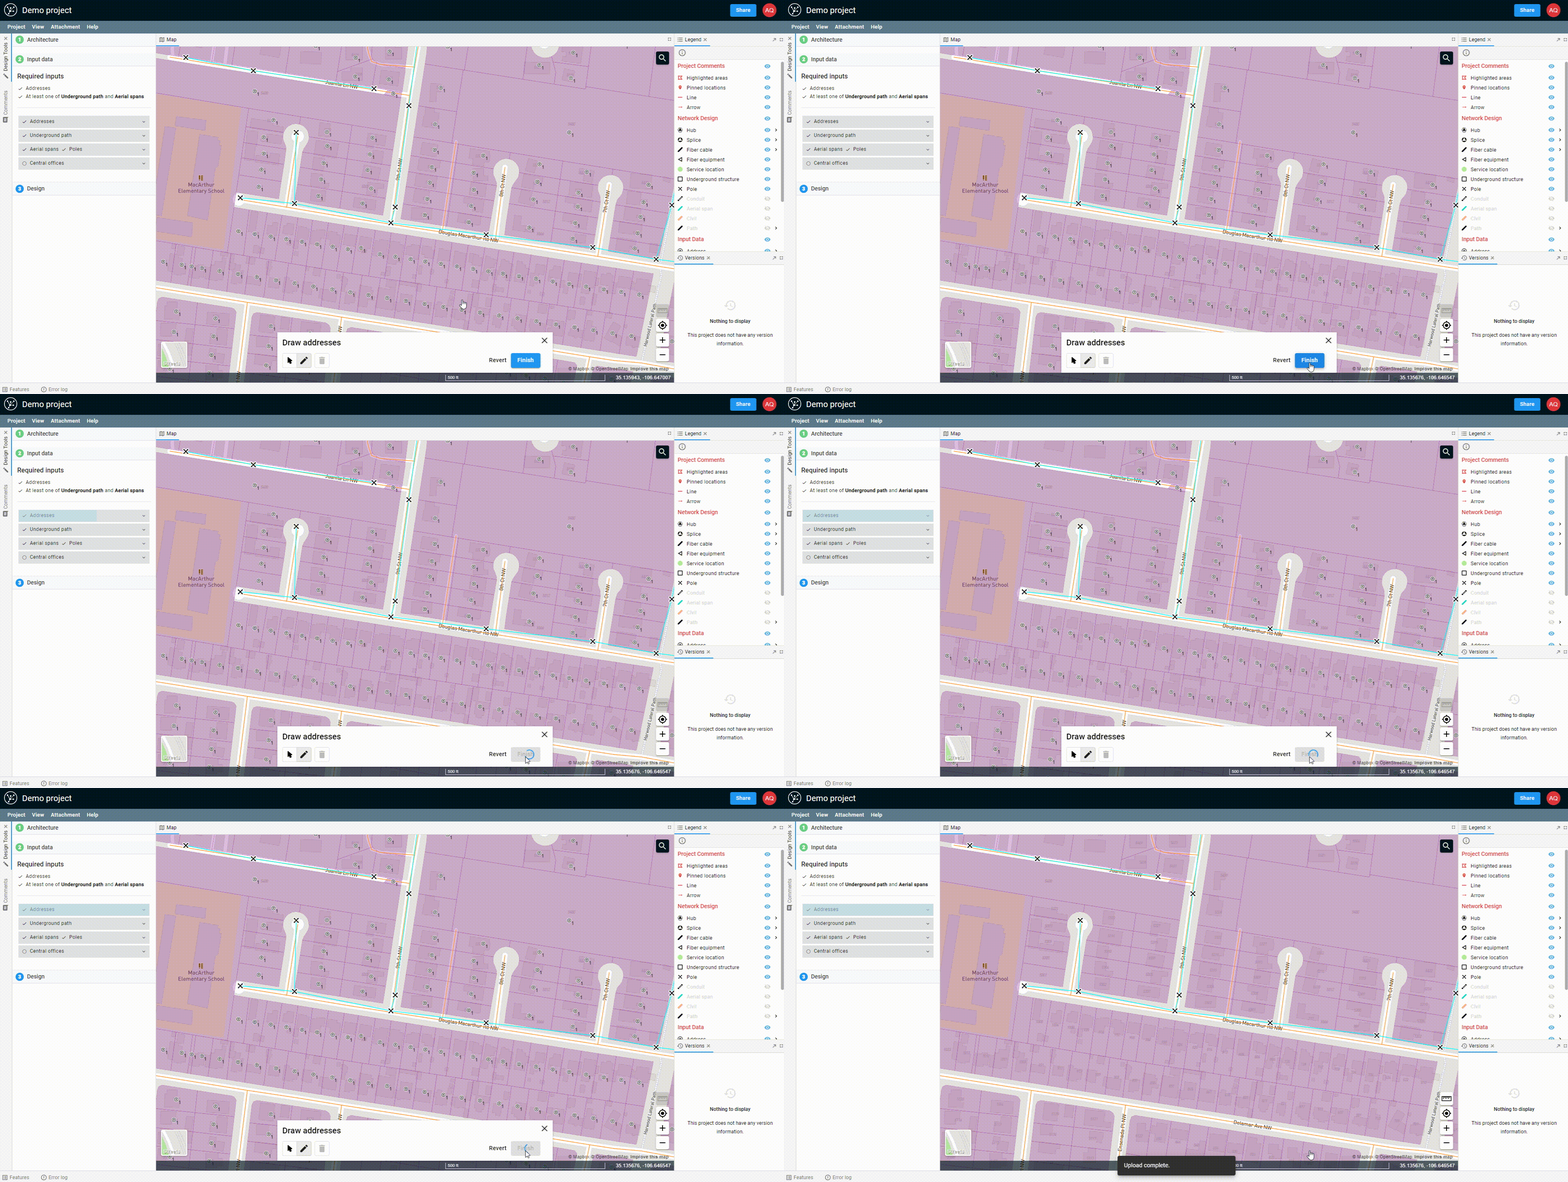
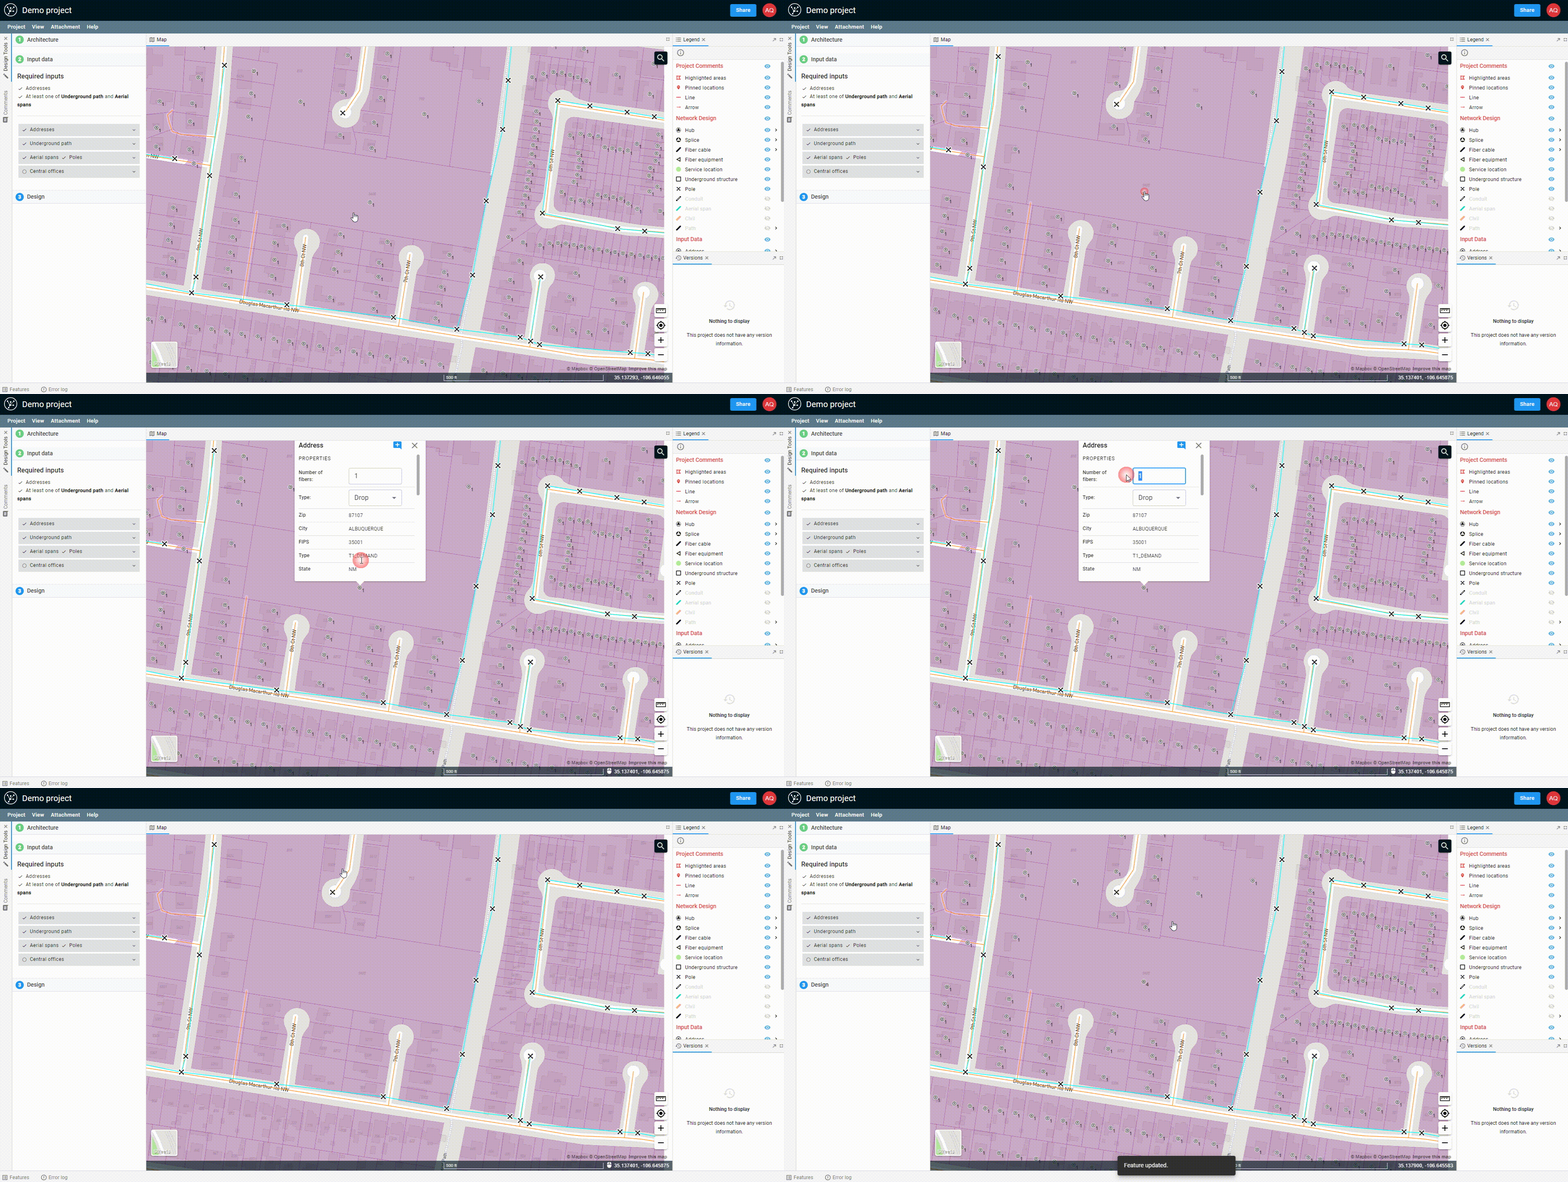
Updating the number of fibers required by an address
The Number of fibers field for an address cannot be updated while in geometry editing mode. To edit this value, just click on the address point. When the dialog opens the Number of fibers field will be located at the top. You can also update type of fibers used to serve the address.
Read How to control fiber allocation in FOND for more information.
